Ex-500.com - The home of the Kawasaki EX500 / Ninja 500R banner

1989 GPZ Recomission !

549 views 25 replies 4 participants last post by  rodster  
#1 ·
Morning all,

I am now on my 6th GPZ500, I normally do them up as a side hobby and sell them, I have a Gen 2 which I have owned for 10 + years and is in many many boxes but that's my forever bike to restore one day when I have the time.

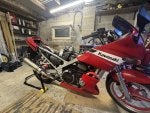
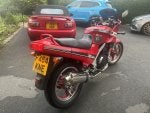
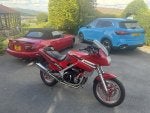
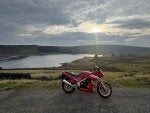
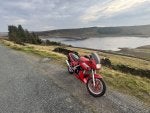
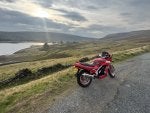
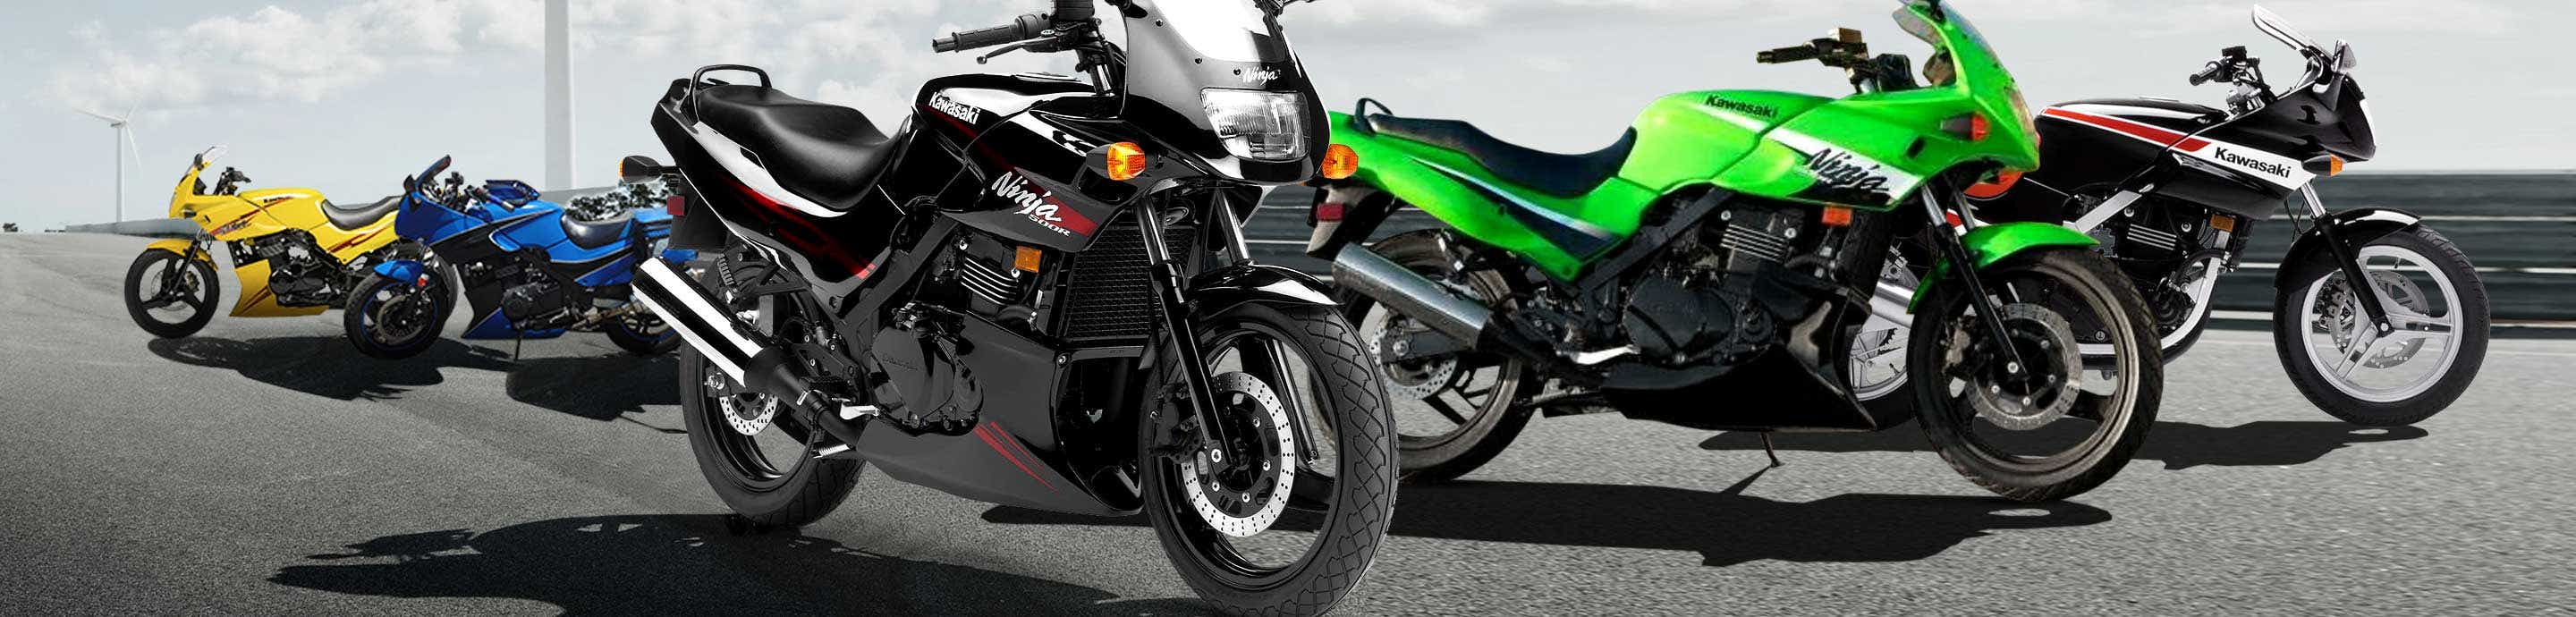
Anyway ! I recently purchased a 1989 gpz 500 impulsively of facebook market place for £400, a little higher than I wanted but something drew me to this bike, this one is a keeper for me.

so far I have -

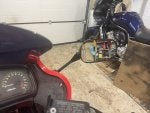
Replaced the manual CCT with a ER5 CCT and painted it black (same internals as the gen 2), the old manual one had layers of gloves and gasket maker, which was very concerning !

I have removed the exhaust downpipes as I had a spare set of Delkevic headers, the PO decided to remove and cap the crossover tube.

Rebuilt the carbs, remove the jet kit (adjustable needle with 4 + washers ?) and smaller main jets, replaced them with spares from a gen 2, replaced the fuel rail o rings, set the float height and turned the pilot jets to two turns to mimic the FOG mod, new fuel lines, vac lines and fuel filter

Rebuilt the petcock

Replaced the snapped clutch switch, and fixed the wiring as it wouldn't turn over

New Iridium plugs as the previous ones where fouled

To do -
install the 1.5" jack up kit, the FOG bones I have are for my other GPZ

I got a NOS belly pan from italy as mine has been painted badly, I have some heat reflective tape so it doesn't melt...as fast.

Two replacement side panels

Fit the headers and I had a brand new set of Delkevic cans, the Jaama ones will be up for sale soon.

Sync the carbs

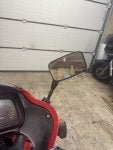
Replace the mirrors as they have so much glue and hope keeping them together

Replace the fork oil for 15W

Service the bike

Clean and MOT

Replace the flywheel or a gen 2 but these are very costly and the current one looks new, I need to pull the cover off and check if its been replaced with a aftermarket one.
 

Attachments

#2 ·
The polished highlights on the rims really make it stand out. Consider a 1999-2005 ZR-7S rear shock. They are normally quite affordable, have the proper spring rate and adjustable rebound damping. Due to their length and spring rate, they raise the rear and quicken the steering. All that is needed for install is a 2mm thick X 12mm I.D. washes at the top, as it is inexplicably something like 2mm narrower than the GPz shock.
In all other areas, well done indeed.
 
  • Like
Reactions: rodster
#3 ·
Image

Image

Image

Image

Thankyou for the advice,

just an update on the old girl, not had chance to do much, but more parts have arrived.

Replaced the knackered original screen with a tinted stock styled one with new well nuts and bolts.

replaced the front sprocket retainer, I had one on my first ever GPZ actually come off on a GPZ owners ride out and that really sucked ! So I ordered one and replaced it and god I’m glad I did ! See the pics bellow

Ordered red silicone radiator hoses, I went to remove mine and they just fell apart which after 36 years I’m not too suprised at.

new rad switch, and coolant

full aluminium radiator which I have had since 2012 to fit, really looking forward to seeing this on the bike

stripped the rust and …rust of the original fan, a good clean and paint, looks great

I have received my Delkevic link pipes so I can also mount this exhaust I have had since 2012 but never fitted, just lost all the parts 😂

On the NOS belly ban I have added two layers of heat shield to stop the Delkevic down pipes melting everything, spacers will be added to the lower brackets so create an air gap.

oil and filter drained and replaced.

next this weekend I need to refit the rebuilt carbs I did a while back and get the old girl
 
#5 ·
More progress done today !

swapped the hardware over to the new aluminium radiator, due to the plug being designed for the gen 2 for the fan switch, I decided to drill and tap the plug which aside not being totally central worked nicely, re-painted fan shroud compliments it nicely.

Started replacing some radiator hoses as all mine where past it, allot of additional time went on removing the corrosion from the current components

I had a set of stainless Delkevic headers lying around, before is how they where after many years on my gen 2 and then left in a garage. I used Harpic 10x bleach and a light scourer pad and repeated the process twice with a bit of time for it to sit, and then some autosol to finish them off, the before and after is impressive, however they are by no means perfect, was going to pop them on tonight but realised the center gasket was wrong so I’m getting a new one tomorrow (Thankyou Amazon !)
 

Attachments

#8 ·
More work done today,

Delkevic downpipes fitted with new gaskets and hardware
Delkevic’s silencers which I had new in the box since 2012
Alloy radiator is finally installed, unfortunately one of the silicone hoses is short so I need a 2” extension, ordered
Fitted my NOS belly pan and adjusted it with spacers and allot of persuasion so it doest touch the exhaust.
Carburettors fitted (rebuilt)
Misc hardware fitted like the tank mount etc

and finally …. It runs !! It bloody lives after all this work, only ran for maybe 20 seconds due to no coolant but it sounded great.
 

Attachments

#9 ·
Next update !

silicone hose extension fitted, motul coolant

Sorted the horn as it wasn’t working

fork seals where weeping, used a seal saver tool as I thought why not ! And low and behold it worked, the crap that came out was bad, but they sealed up fine with no misting, if it gets it through it’s mot I’ll be happy, I want to find a twin disc gen 1 front end for it as I love the look !

Fitted the replacement side panels

Removed the belly pan as it was starting to discolour from the heat, the heat reflective stuff has melted so I need a new plan 😂 that was even with spacers and allot of hard work ! I’m thinking something like Kevlar matting. But I need to do more research !

15w fork oil, those clips at the top are a bugger to get out !

cleaned, lubed, re tensioned the chain

fitted the fuel filter, fuel line and vac line and it runs and idles

lastly …MOT at 4pm tomorrow.
 

Attachments

#11 ·
Thankyou, been allot of little jobs to get it right, I’m hoping all goes well !

When I get back I need to find my carb sync tool and do that and then continue to figure out my belly pan heat shield method, I have heard you can get plumbers Matt which may work, I’ll figure it out !
 
#12 ·
Good luck with the MOT mate (last hurdle) as for the exhaust my gen 1 (with black widow headers) used to melt the belly pan, even with spacers and careful routing , I cured the issue by wrapping both pipes with GUMGUM Exhaust tape repair.
the kind that is used for sealing leaks, (one on each pipe ) it still gets hot but not enough to melt the plastic.
 
#13 ·
MOT done ! On the way there my tach stopped working as did the horn, thankfully a wiggle of the harness got it working and it got through the MOT and passed with only the exhaust being noisy as an advisory !

Got home, found a broken wire, repaired and all is working perfectly, topped up the coolant and put the infil panels back on.

really pleased with how the bike road, great power (not compared to my fzs1000) but it was great fun ! I’m just pleased it worked so well

next things to do are -

figure out the belly pan thing ( may try what Yorkie suggested above)

New mirrors as these are mega zoomed in for some reason

sync the carbs, then I’ll go further into messing with bits
 

Attachments

#14 ·
Great work! How does MOT measure exhaust level? With meter or by ear? In that case, request the sentior examiner, as their hearing may not be as acute ;-)
As to heat protection, I am thinking of the current trend of wrapping header pipes with heat tape. It is mostly style as most use it, but it is function you seek. In that regard, I think a partial wrap of the headers near the belly pan would certainly help - the down side being potemtial for corrion under the wrap. I wonder if such a product is available in sheet form, to line the pan itself. Perhaps a combination of wrapping the header pipes and lining the belly pan would suffice.
But where to obtain it? Steam fitters? Furnace installers? Foundries? Someone must have such a heat protective "sheet" of material.
 
#15 ·
Great work! How does MOT measure exhaust level? With meter or by ear? In that case, request the sentior examiner, as their hearing may not be as acute ;-)
As to heat protection, I am thinking of the current trend of wrapping header pipes with heat tape. It is mostly style as most use it, but it is function you seek. In that regard, I think a partial wrap of the headers near the belly pan would certainly help - the down side being potemtial for corrion under the wrap. I wonder if such a product is available in sheet form, to line the pan itself. Perhaps a combination of wrapping the header pipes and lining the belly pan would suffice.
But where to obtain it? Steam fitters? Furnace installers? Foundries? Someone must have such a heat protective "sheet" of material.
Just done by ear, every bike I have owned get that advisory, I think it’s aftermarket cans they don’t like 😂

That’s a good idea too, I know plumbers Matt can withstand a blow torch, but there will be something from the motorsport world I’m sure, if it melts I’ll have to just deal with it but as it’s a brand new part from 1989 I’d rather try and keep it in good order !
 
#18 ·
Little update -

unfortunately not rode it since the MOT as my fzs1000 needed carbs rebuilding amongst the AIS delete and carb coolant line removal etc, however that runs better !

anyway, tonight I fitted the 06 ninja 650 (ER6) mirrors which I was amazed didn’t need grinding they popped in and with a bit of force on the bolt the tension is correct.

I replaced the mirror bracket bolts with SS Allen bolts as the old ones where rusty and stripped

this weekend I will hopefully wrap the exhaust with this “lava wrap” which had great reviews and then use some brackets to lower the belly pan 0.5” so it doesn’t touch
 

Attachments

#19 ·
Little by little, you will get there! I installed '84-'86 GPz600R mirrors on my 500. I made 1/4" ABS spacers so that they would not foul the fairing. Seriously, any bike destined for the UK should have had stainless fasteners!
 
#20 ·
Tonight was the final night doing work to it for this year.

Exhaust headers wrapped
More heat reflective tape
Brackets manipulated to give space around the downpipes
Front brake reservoir cap polished and new SS bolts
Side stand was loose, new bolt, sorted
Carbs synced
Gen 2 clutch perch with stock adjustable lever
Gen 2 front brake lever - adjustable
Found a center yolk bolt from a old GPZ that was in better condition, that’s also been replaced

my first proper ride out on her is hopefully this week, very happy with the bike at the moment !
 

Attachments

#23 ·
Thankyou very much, it kind of turned into more of a project than anticipated but I’m very glad with the result. I will next look into how to make the engine a bit quieter, just need to find out if it’s the cam chain or one of the various other chains banging around or valve noise etc, but most of my 500’s are noisy 😂

on the plus side, that exhaust wrap worked wonders, it was running for around 45 min with many blips of the throttle to set the carb sync and I could feel the belly pan was warm but not even close to last time when it started to discolour.
 
#24 ·
Check the cam chain tensioner! If it has a 12mm hex bolt on the tip, it has been upgraded and you are good to go. A 10mm hex indicates the failure prone Gen1 tensioner.
 
#26 ·
First ride out on the bike tonight, I really enjoyed being back on a smaller bike.

few things to note, the aluminium radiator is very very efficient, the bike doesn’t seem to get up to temperature unless it stationary

Bike pulls really well, but it has an issue …
Damn gen 1 gearbox fault, it’s only mild but it pops out of gear de-accelerating so over winter I need to pop a Gen 2 box in.

When I got home I also removed the baffles, it sounded good but without it sounds great 😂
the heat wrap and shield worked perfectly, the belly pan got warm at best 😁
 

Attachments